 We’re happy to announce that Mathieu Dubois-Briand has just joined the Bootlin engineering team!
Mathieu graduated from the UTBM, Mathieu spend 12 years at Witekio, where he worked first on Android AOSP, and then on many Linux-based Board Support Package, based on Yocto or Buildroot, for various ARM and ARM64 platforms such as the NXP i.MX and TI OMAP families. During this process, he wrote Device Trees and developed Linux kernel drivers for common devices, such as touchscreen controllers, 3-axis accelerometers, and network PHYs.
In addition to development, Mathieu has managed the maintenance of several projects, including CVE analysis and updating software components throughout the product lifecycle. His work has also involved security-related topics, including secure boot, Trusted Execution Environment, and Trusted Applications using OP-TEE, as well as secure communication between devices, primarily employing TLS and DTLS protocols.
Furthermore, Mathieu has some experience with microcontroller development, using real-time operating systems like FreeRTOS and Zephyr on MCUs from the i.MXRT, ESP32, and STM32 families.
Mathieu has joined our engineering team based in Lyon, and will help us offer more embedded Linux expertise to our customers, including some additional expertise on BSP development, maintenance, CVE analysis, and security. As a Bootlin engineer, Mathieu already participated to the Open Source Summit Europe in Vienna, and is directly contributing to the build engineering effort of the upstream Yocto Project.
Please see Mathieu’s Bootlin page and LinkedIn profile.
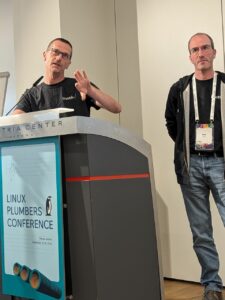 After the participation of 13 Bootlin engineers to
 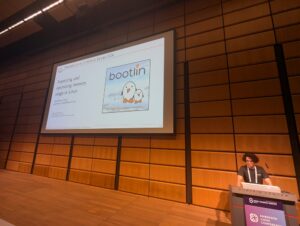 No less than 13 Bootlin engineers attended the
  Linux 6.11 has been released a week ago, the day before Open Source Summit Europe started, but as a large part of the Bootlin team was attending this conference and the immediately following Linux Plumbers conference, we are only posting now our usual blog post about our Linux 6.11 contributions.
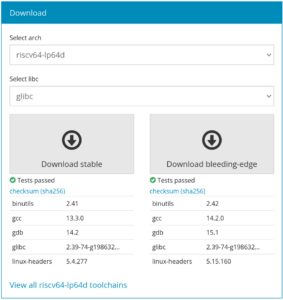
 We are happy to announce a new release of our
  Over the past few years, we have been contributing to the